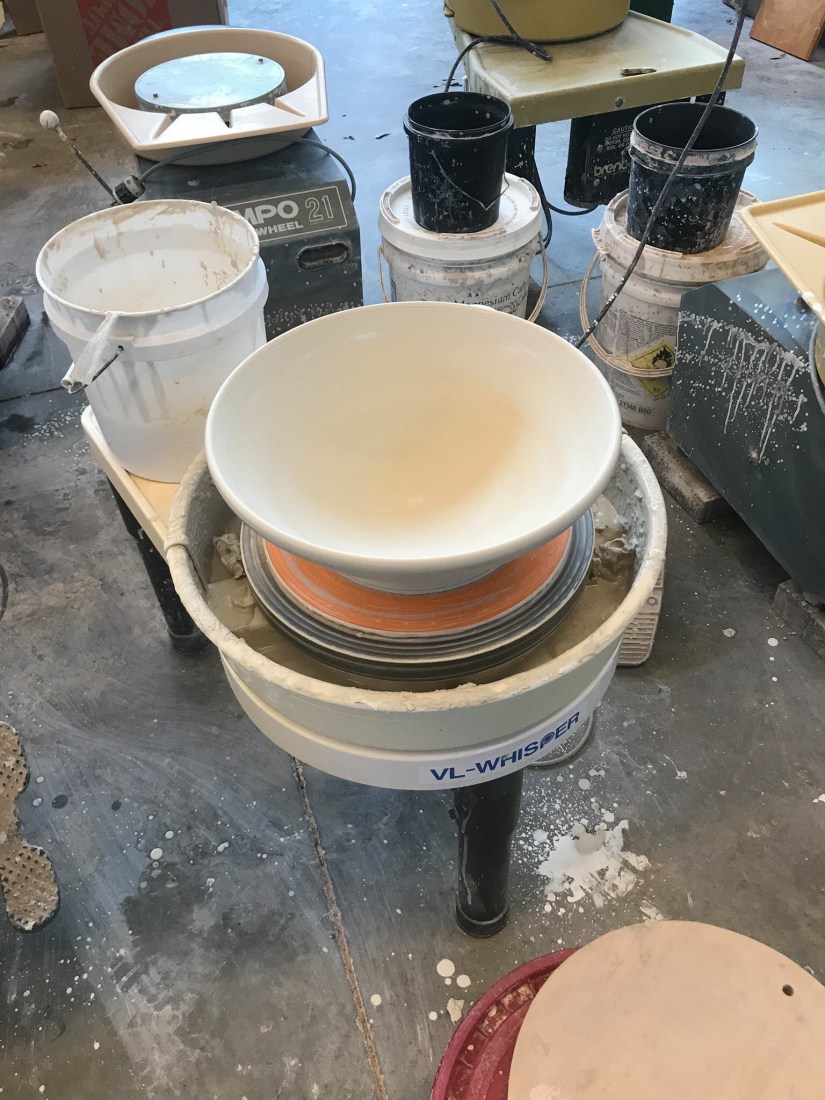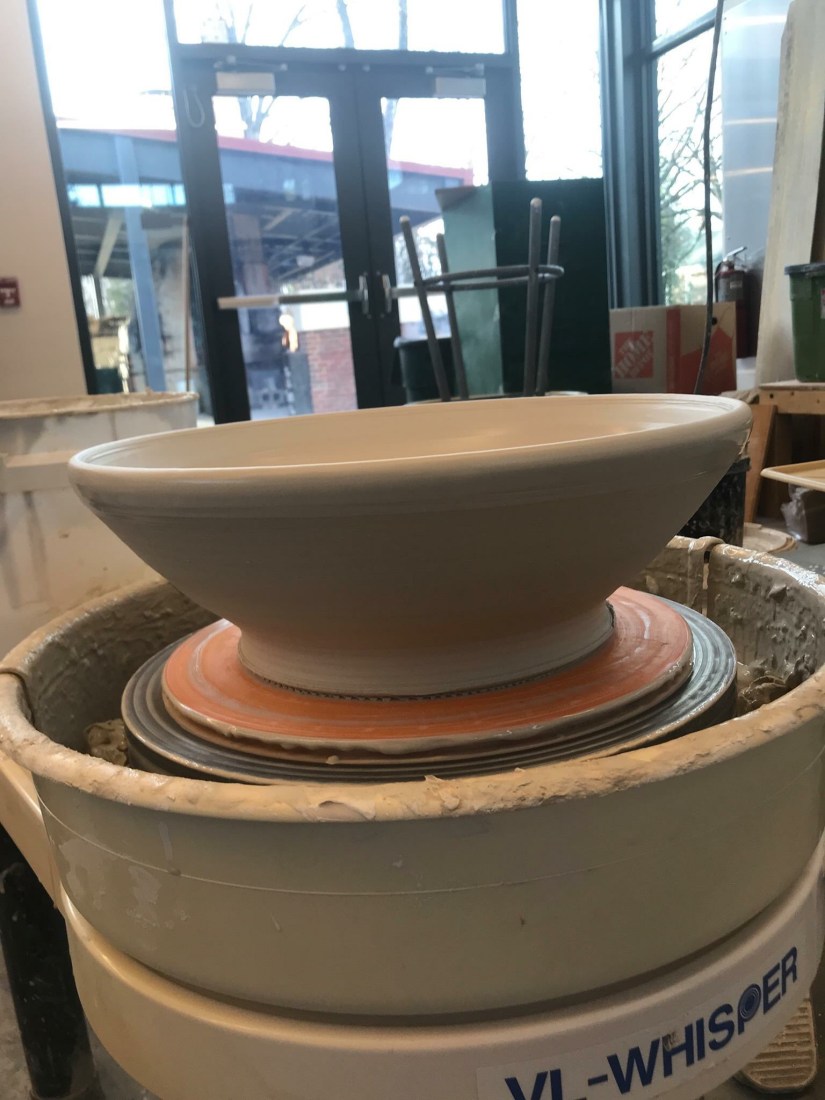

Firing the train kiln today, however preparation started earlier with first making pots specially for the wood fire.
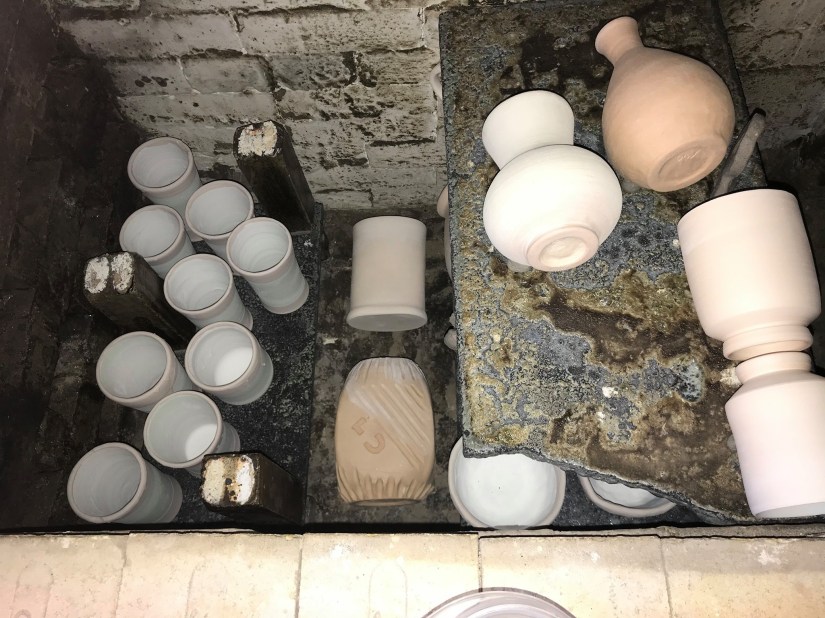
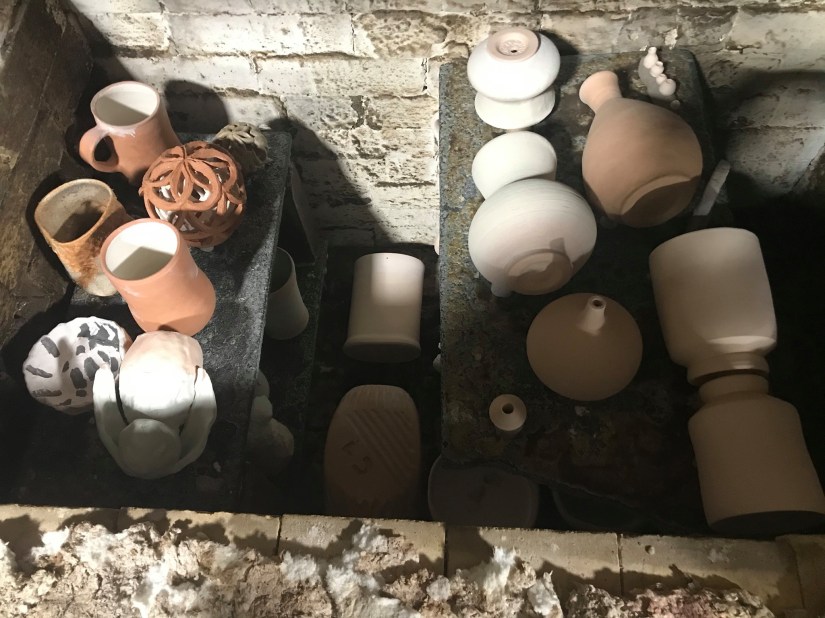
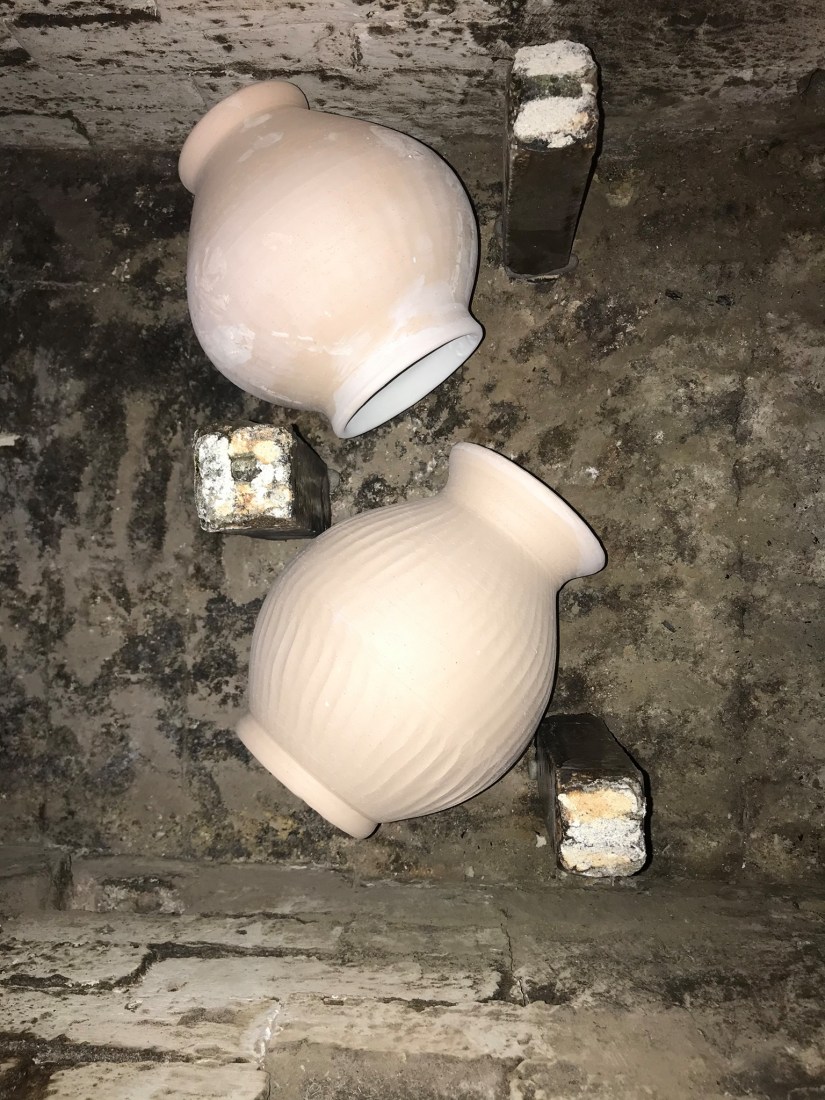
Placement is key. One or two medium sized round pots to help slow the heat down as it goes through the ware chamber. Then a couple of tall 9” posts and a shelf, then add more pots.
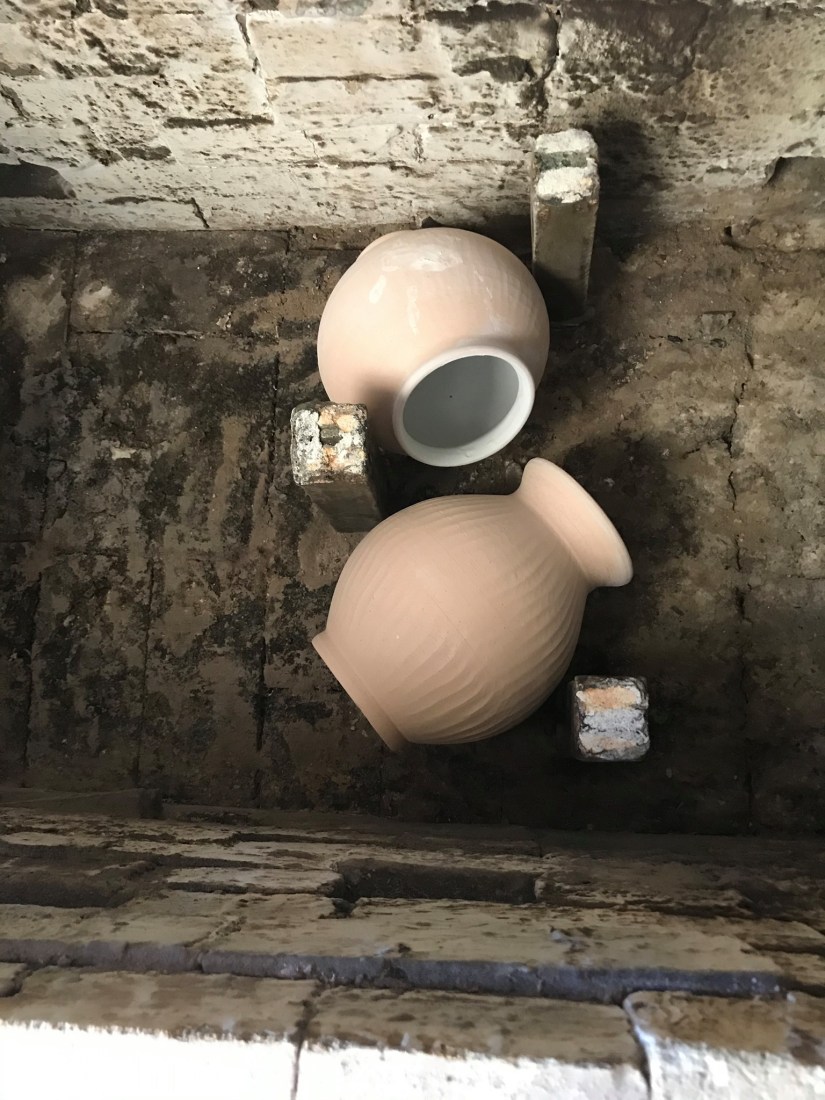
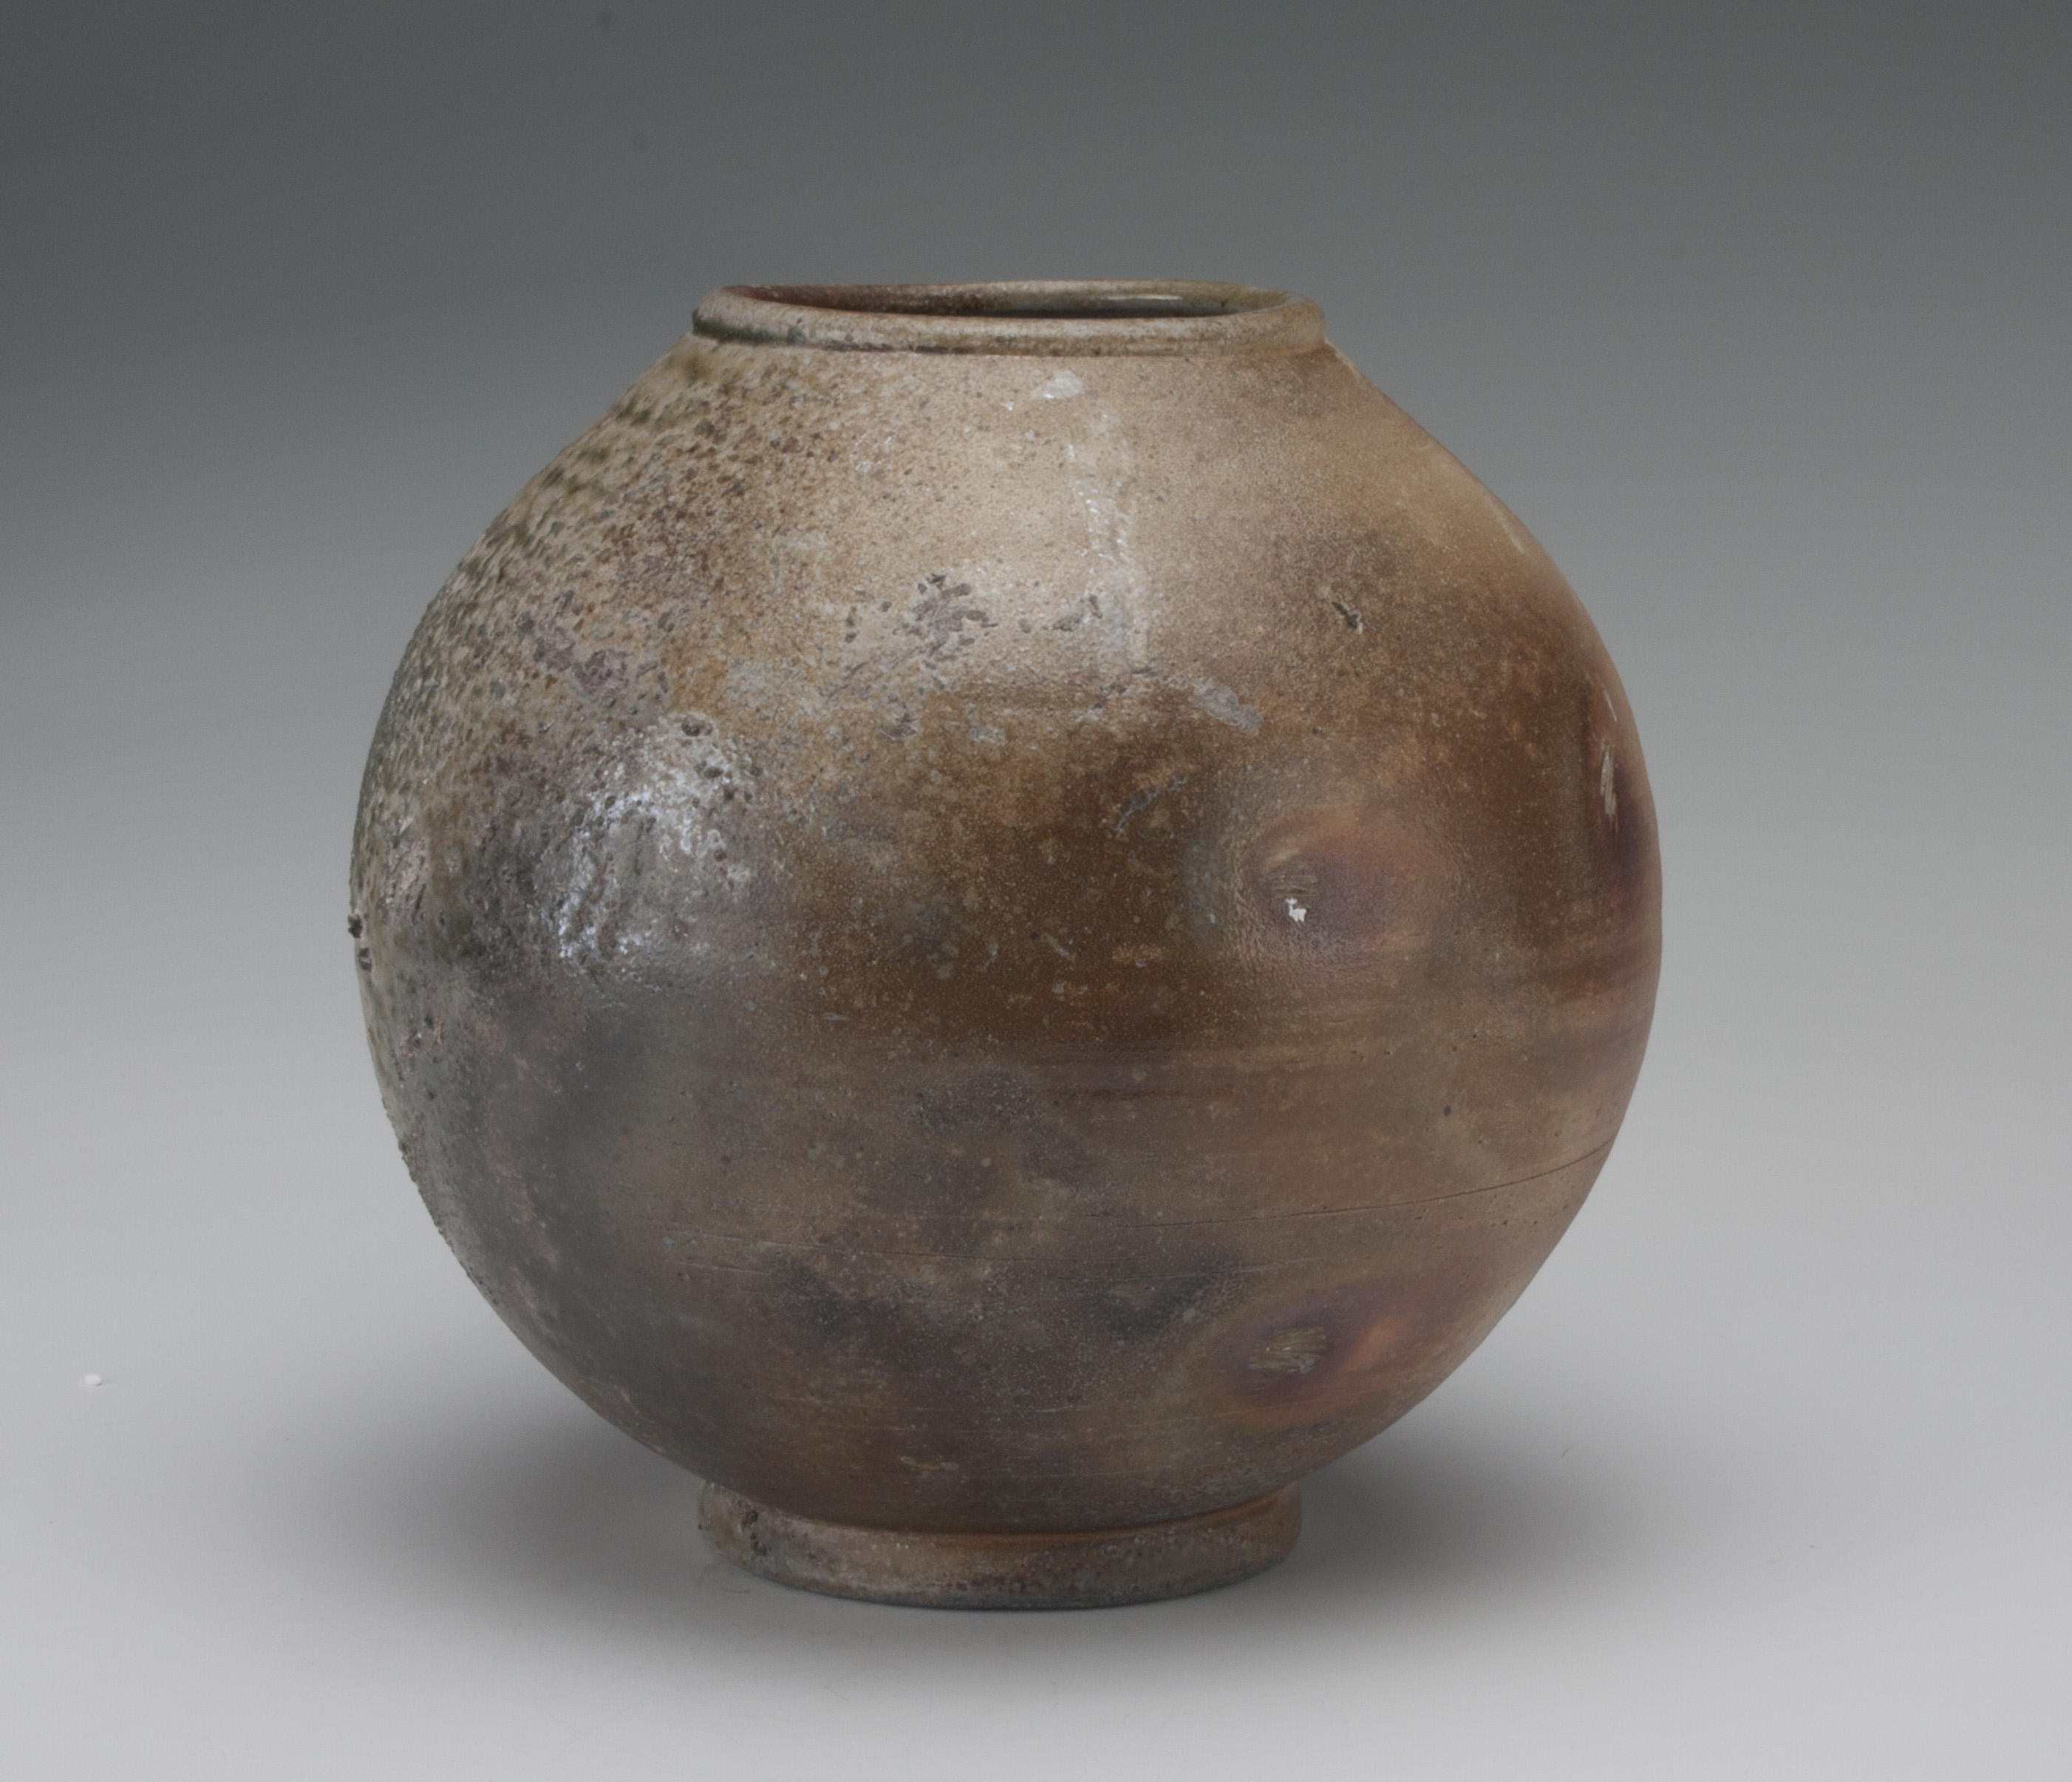
These pots are have little to no glaze on the outside so we can show off the beauty of the clay and get a lot of ash buildup on the pots. The pots in between the shelves will have long narrow sticks of wood burnt over the top of them and then they will be buried in a pile of coals that will burn off and hopefully leave some interesting things. The back shelf will get some ash and reactions to the wood and again hopefully some exciting things.
See you again in a couple days my precious…
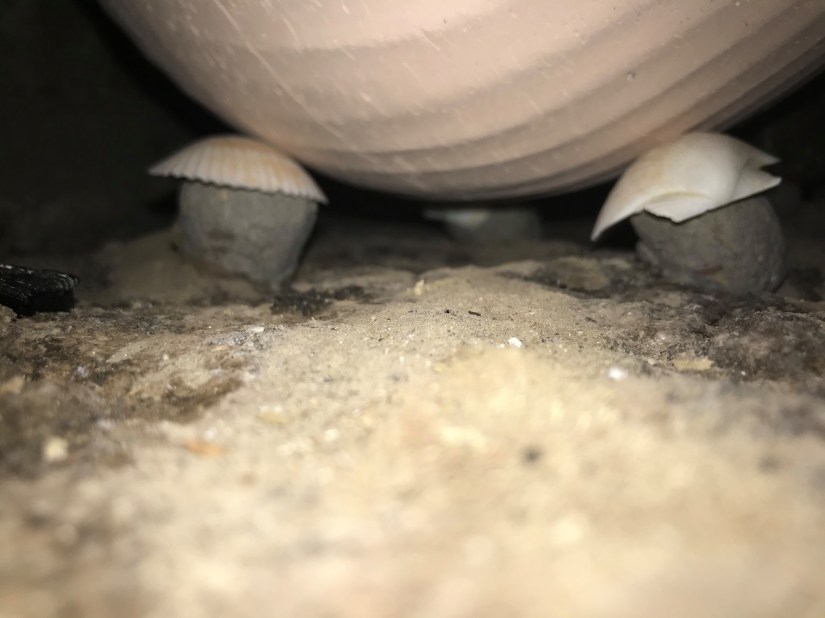
Placing the pots on wadding and shells keeps them from sticking to the shelves.
P.S. Not all of the pots are mine. I always try to get students involved and make it a learning experience.

Ask me my secret for the best fire-starter!
Early morning quiet on campus…

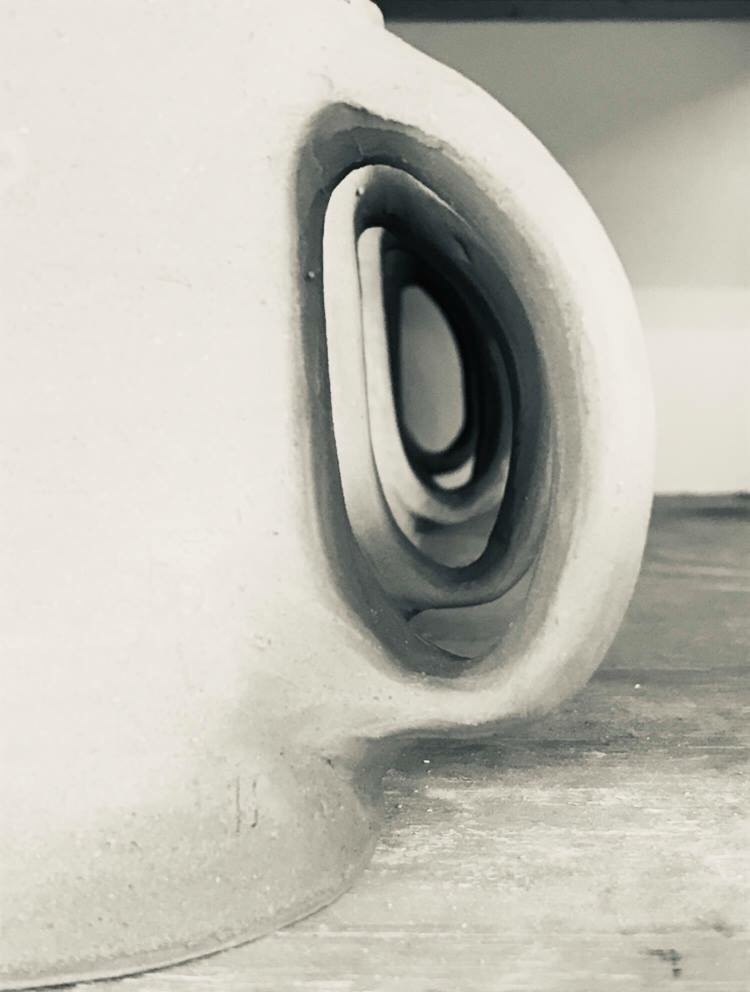
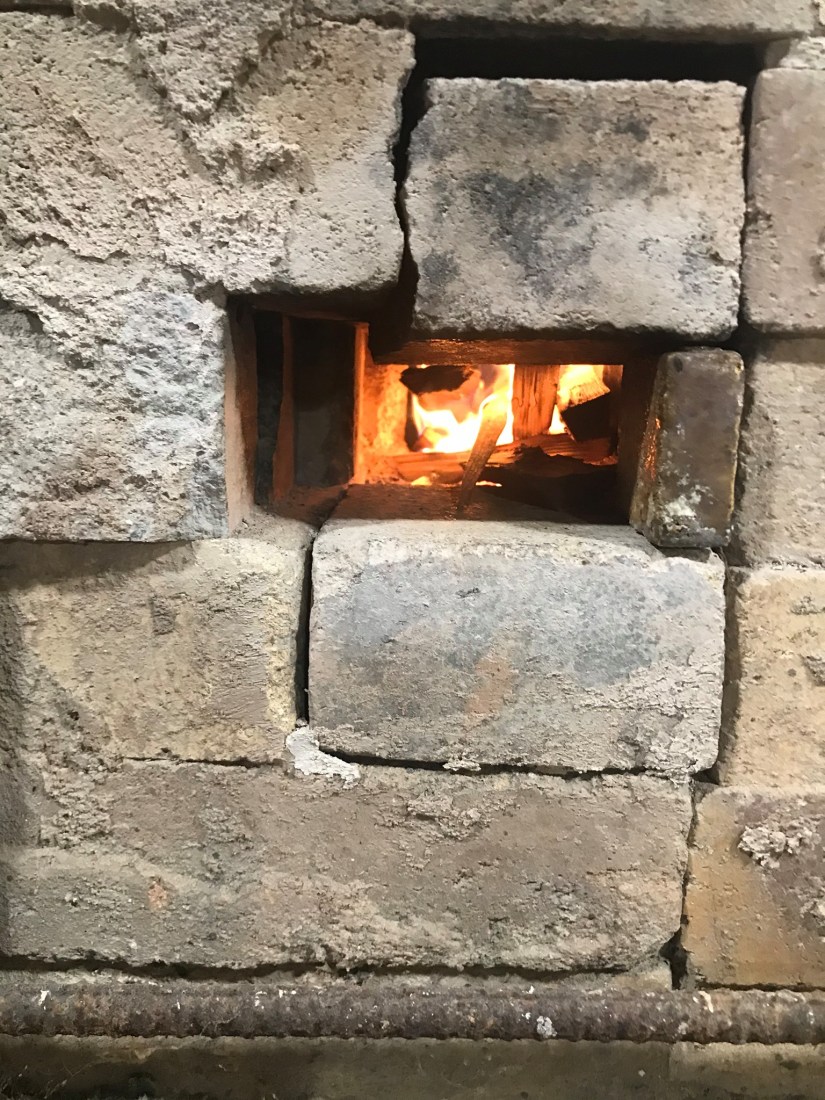
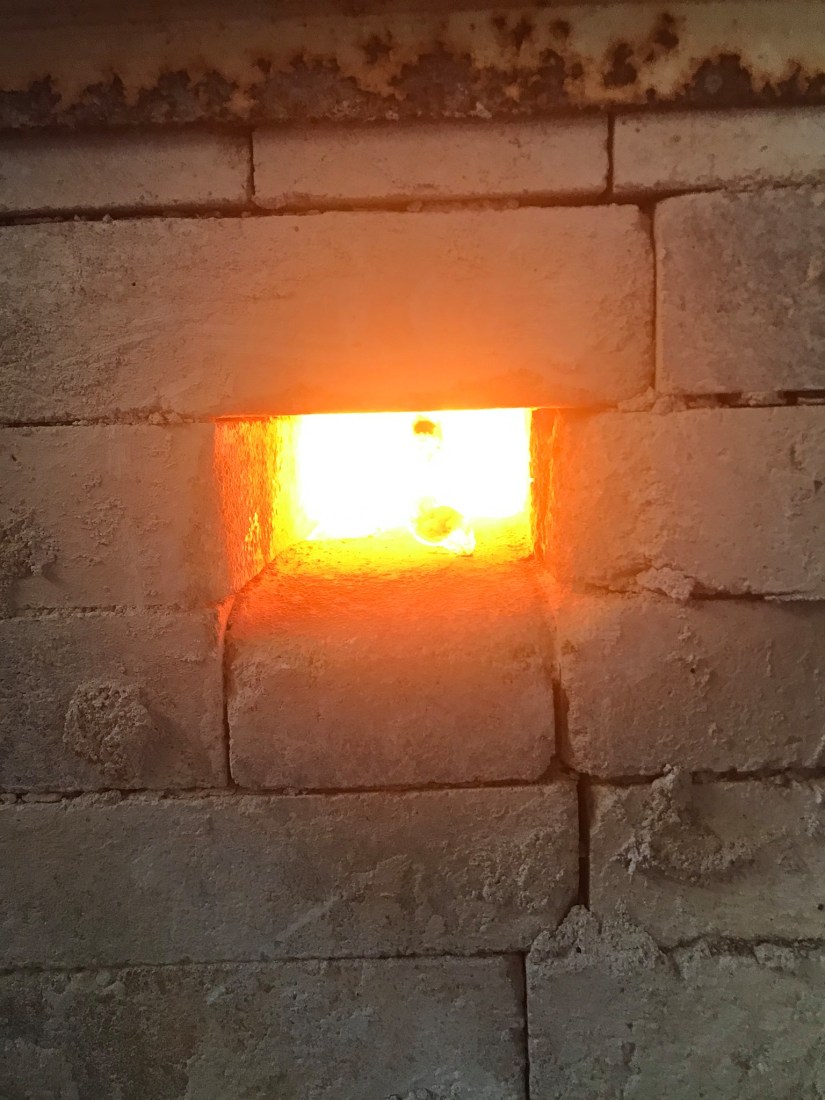
A peek of the fire within.

This is the place between the shelves, flame on!
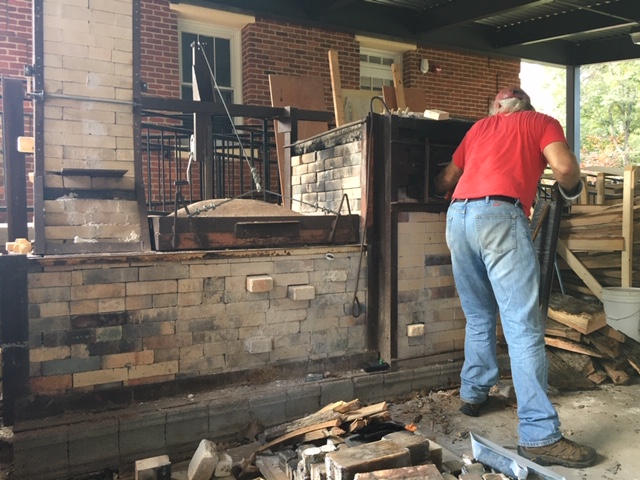
Add more wood and stir it up.
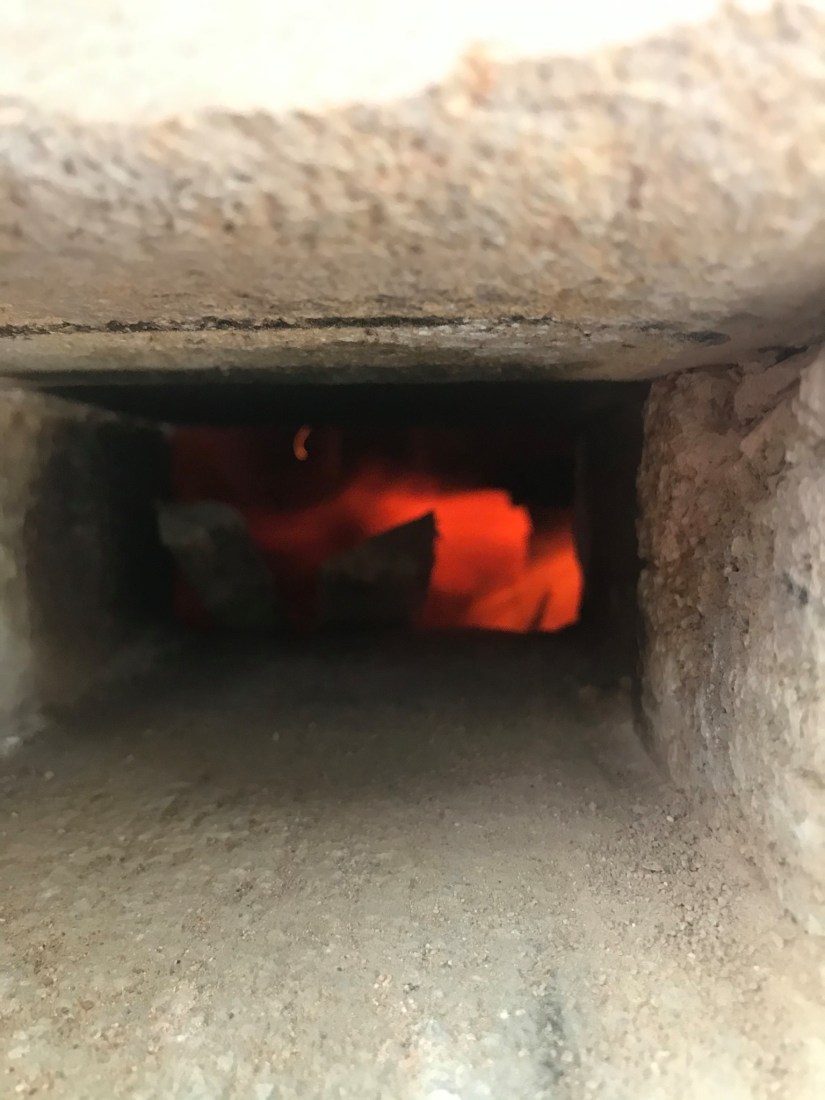
What it looks like hot!
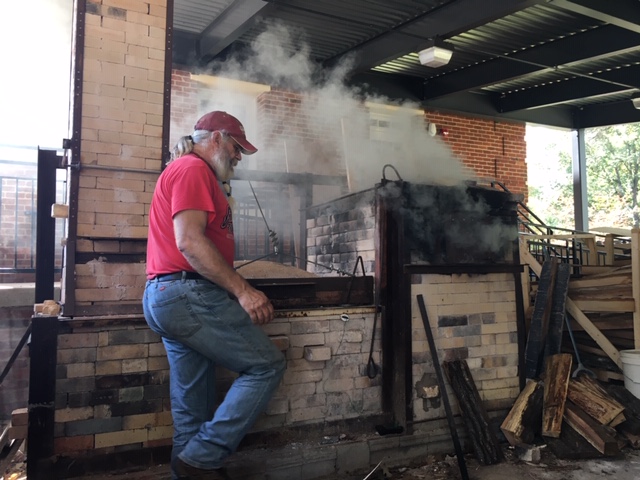
Why is it called a train kiln? It’s shaped like a locomotive and look at that smoke!
Just started the reduction…
Stay tuned…we’ll be unloading in a couple of days!